Documentation
Getting started
Reports
Report templates
Administration
Scheduled reports
Intelligent Reports allow you to have reports automatically generated and emailed to you. This feature is useful if you require regular reports such as weekly progress reports. Scheduled reports are generated automatically at the next scheduled date, and emailed to you using JIRA email.
Setting up a scheduled report
You can follow these steps to set up a scheduled report.
-
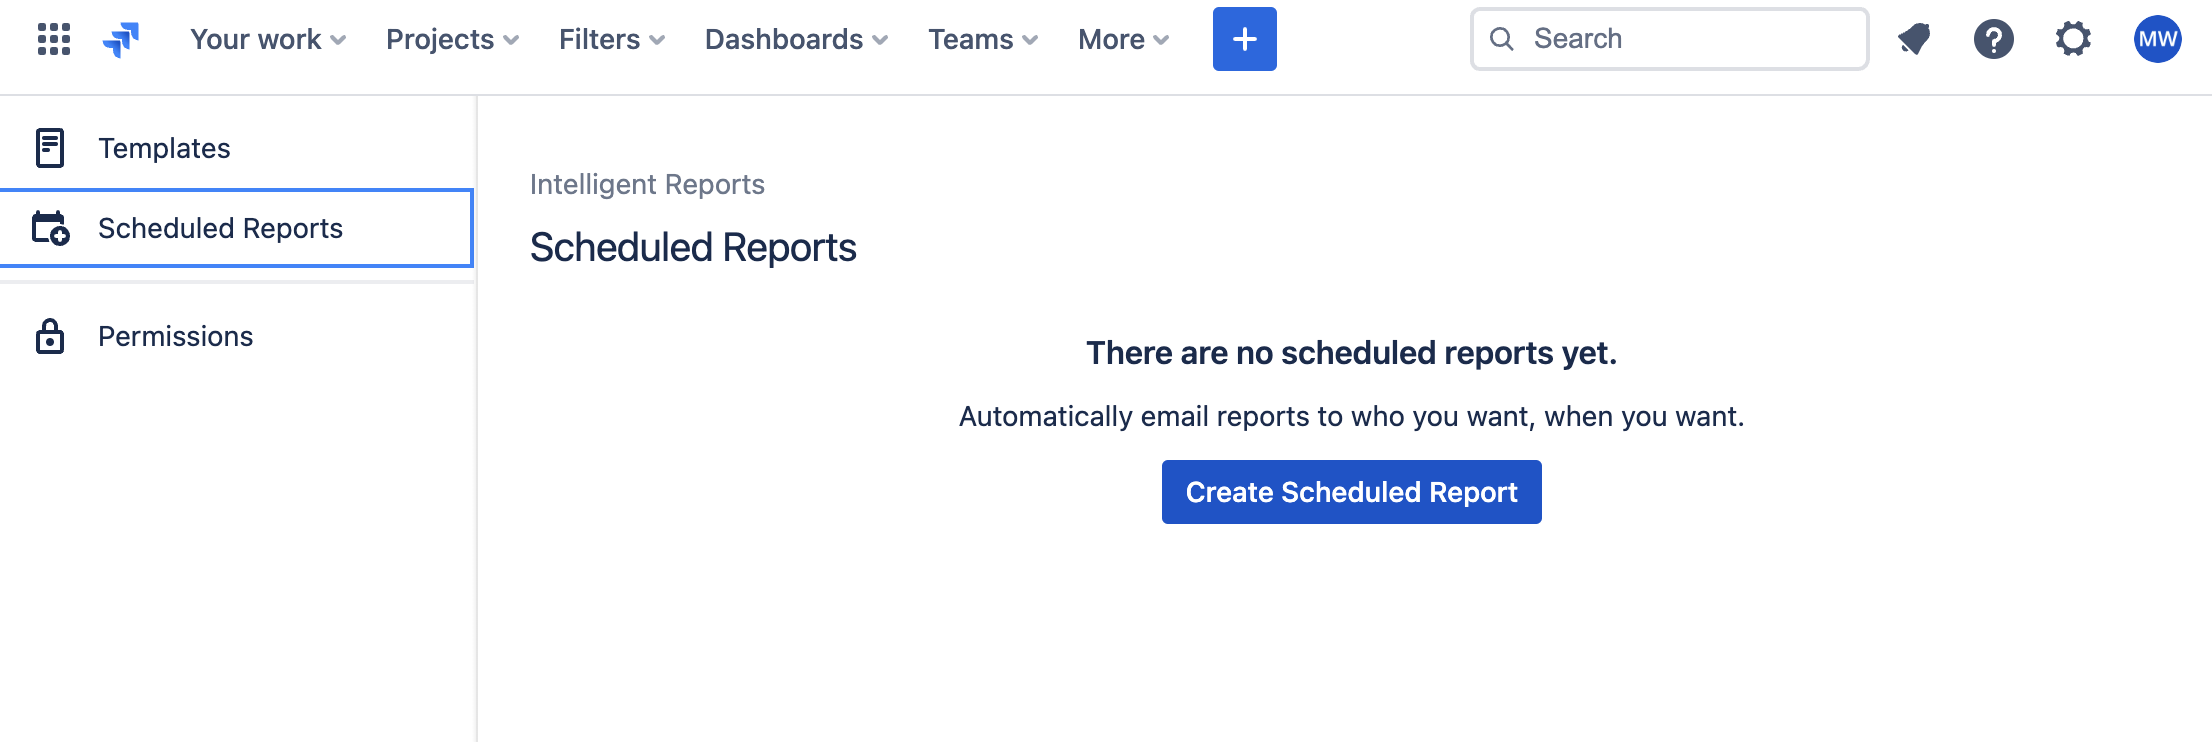
Navigate to the Intelligent Reports Scheduled Reports page from the menu on the left.
-
Click the Create Scheduled Report button.

-
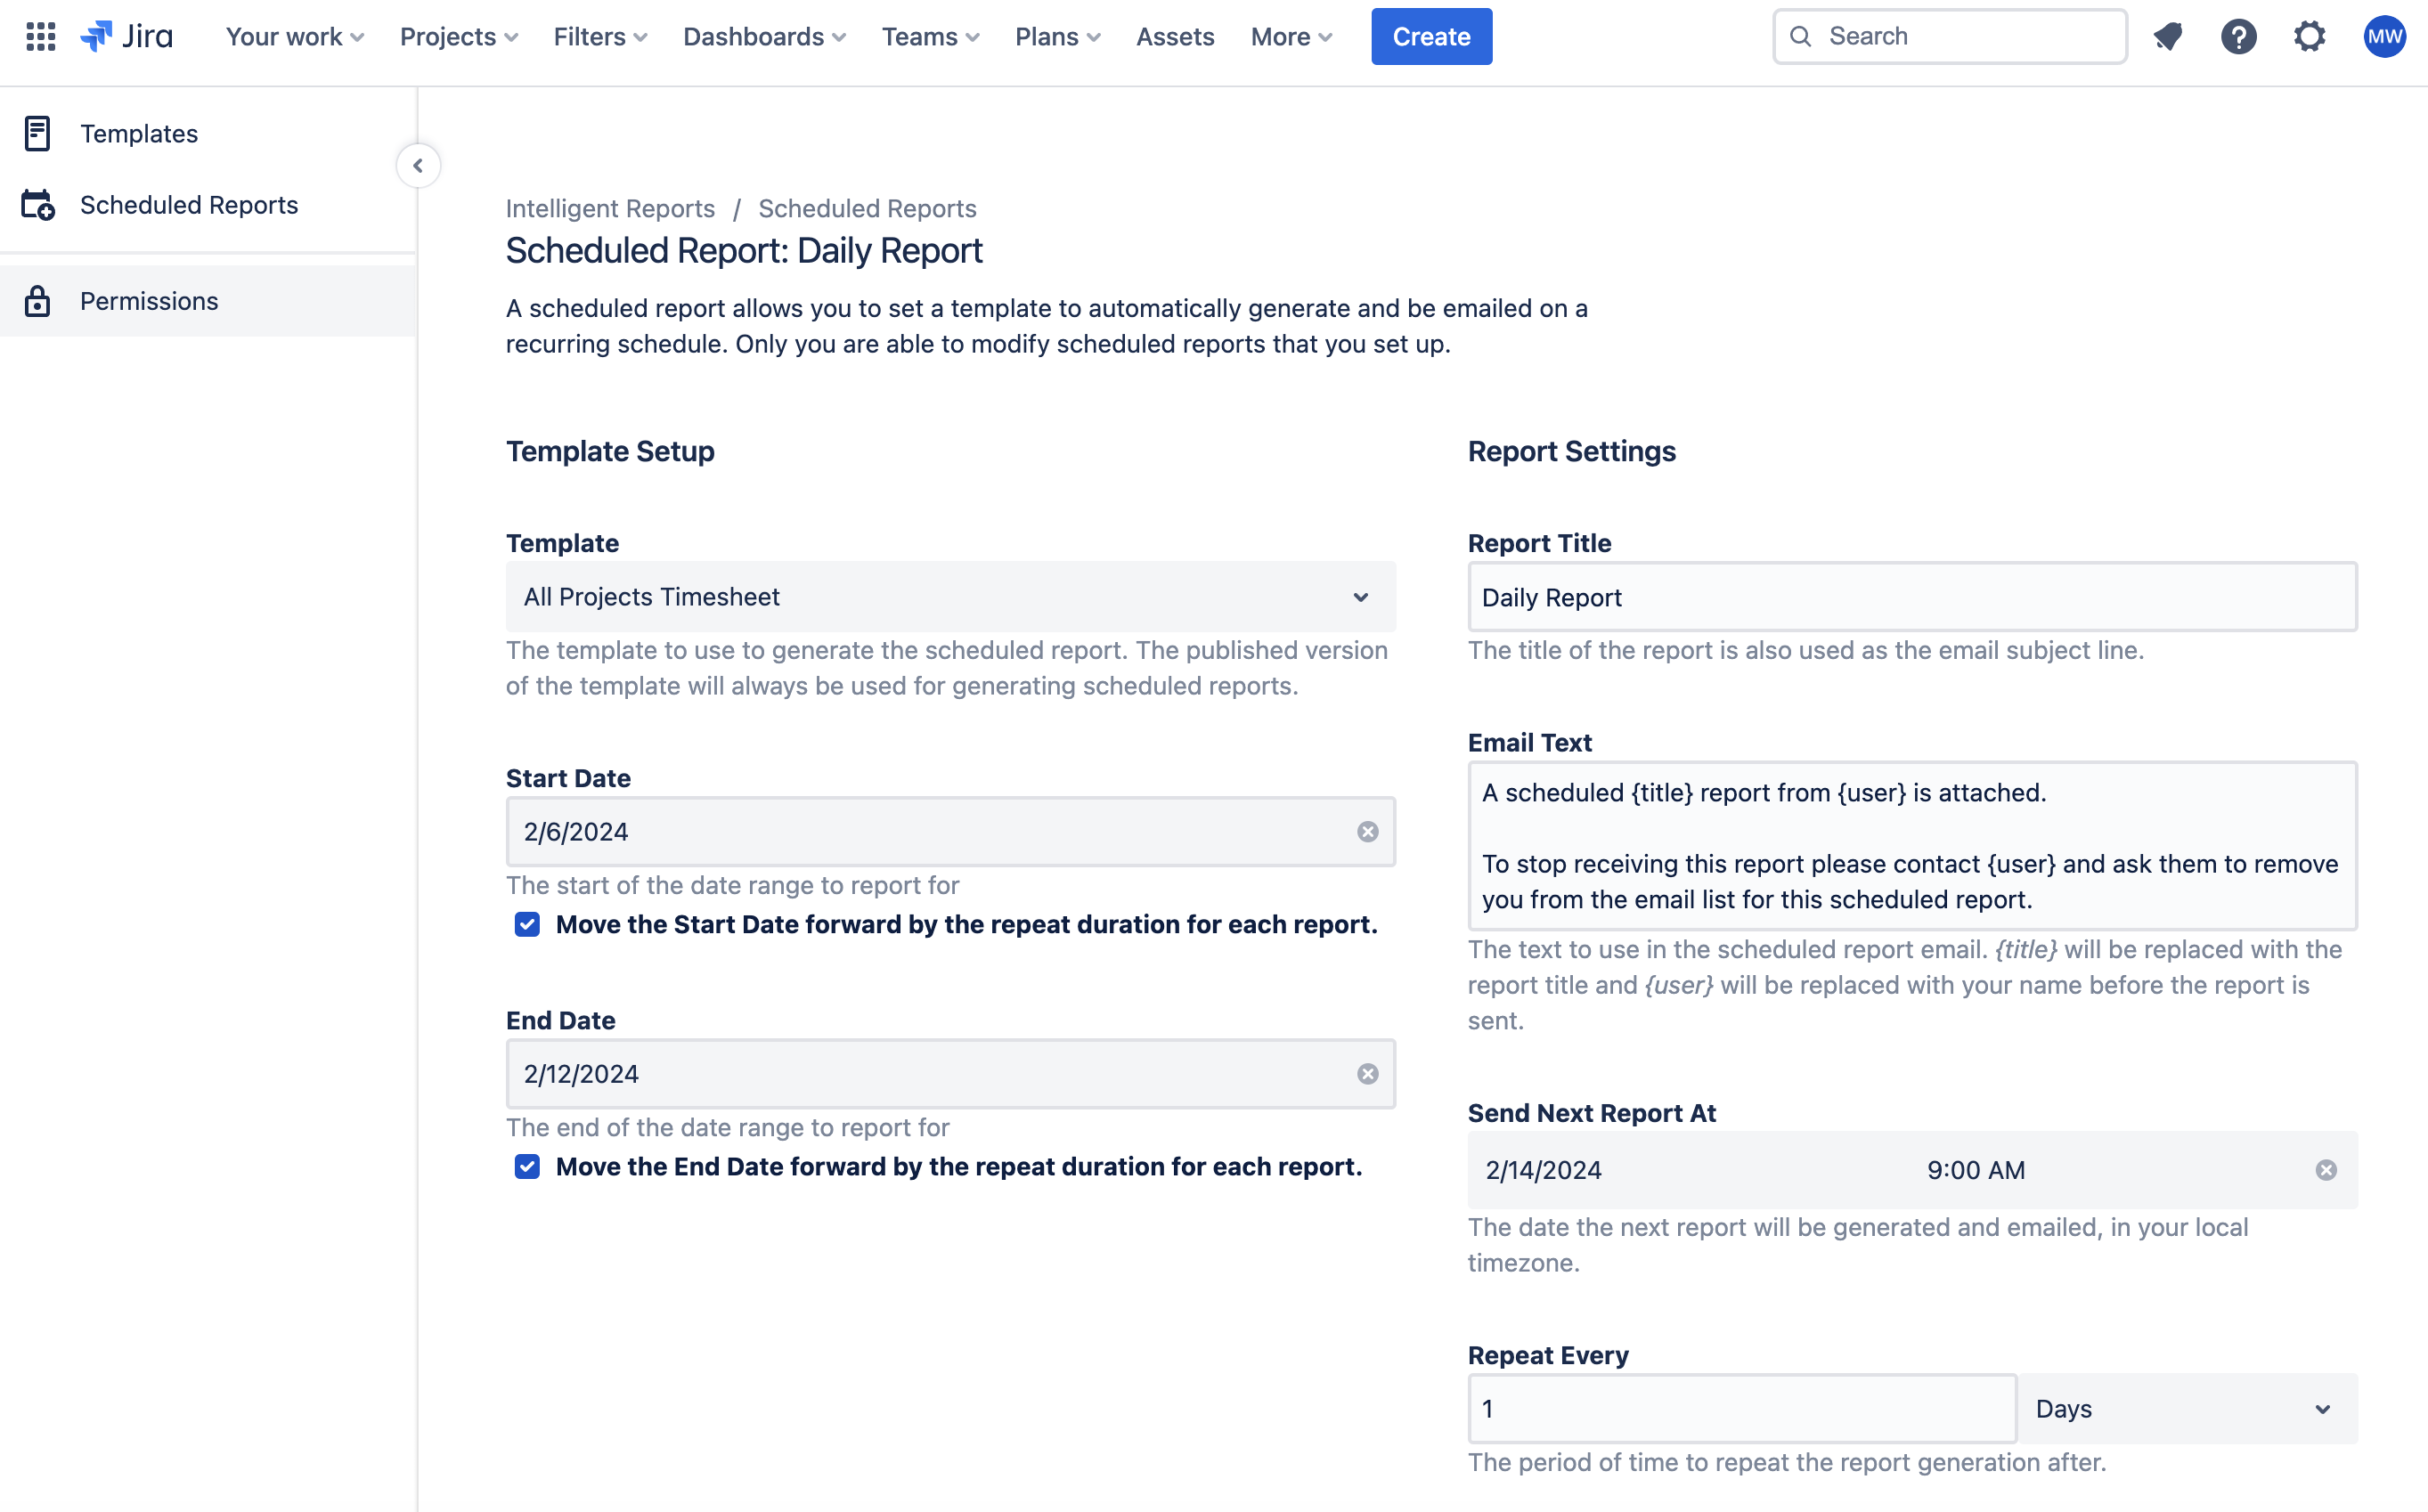
You should be able to see the scheduled report details page where you can configure your new scheduled report.

Some fields will be filled in with default values, but others you will need to configure yourself before a scheduled report can be sent. You should be able to see the following fields:
-
Template
Choose the template to use to generate the report that you want emailed to you. Once you choose a template, the questions for that template will appear for you to provide values to be used when the reports are generated.
-
Report title
What you enter here will be used as the Subject line when the report is emailed to you.
-
Email text
This field allows you to customize the text of the email that the scheduled report will be attached to. If you will be sending this scheduled report to other people, it is a good idea to let them know how they can contact you to request changes or stop receiving the report.
-
Send next report at
The date and time this report will be first generated and emailed to you.
-
Repeat every
The interval at which the report will be generated. For example if you would like the report generated weekly put 7, then every seven days from the Send next report at date Intelligent Reports will generate the report and email it to you and any other recipients you have selected.
-
Email to
Add other recipients for your report. Make sure to include yourself if you want to receive the report.
The report will be generated using your JIRA permissions and every recipient will receive the same report. Be careful if other users should not see data you have permissions for.
-
-
Once you have finished, click the Save Changes button at the top of the screen to save your scheduled report. You should be able to see the scheduled report in the list of scheduled reports.
Making changes to scheduled reports
You can follow these steps to make changes to an existing scheduled report.
-
Navigate to the Intelligent Reports Scheduled Reports page from the menu on the left.
-
Click the Edit icon or on the report title of the report you want to edit.

-
You should be able to see the scheduled report details page. Make your changes. Once you have finished, click the Save Changes button at the top of the screen to save your changes to your scheduled report.

Cancelling a scheduled report
You can follow these steps to cancel an existing scheduled report.
-
Navigate to the Intelligent Reports Scheduled Reports page from the topmenu on the left.
-
Click the Delete icon next to the report you want to delete.

-
A pop up window will ask you to confirm your choice. Click Delete to cancel the scheduled report. Note that cancelling a scheduled report does not delete the report template.
Unsubscribing from a scheduled report
If you are being sent a scheduled report by another user, you can unsubscribe to stop receiving that report in the future.
Other than stopping the report from being emailed to yourself, you cannot make any changes to the scheduled report. If you want other changes made to the scheduled report you will need to ask the sender of the scheduled report, or alternatively set up your own scheduled report.
-
Navigate to the Intelligent Reports Scheduled Reports page from the menu on the left.
-
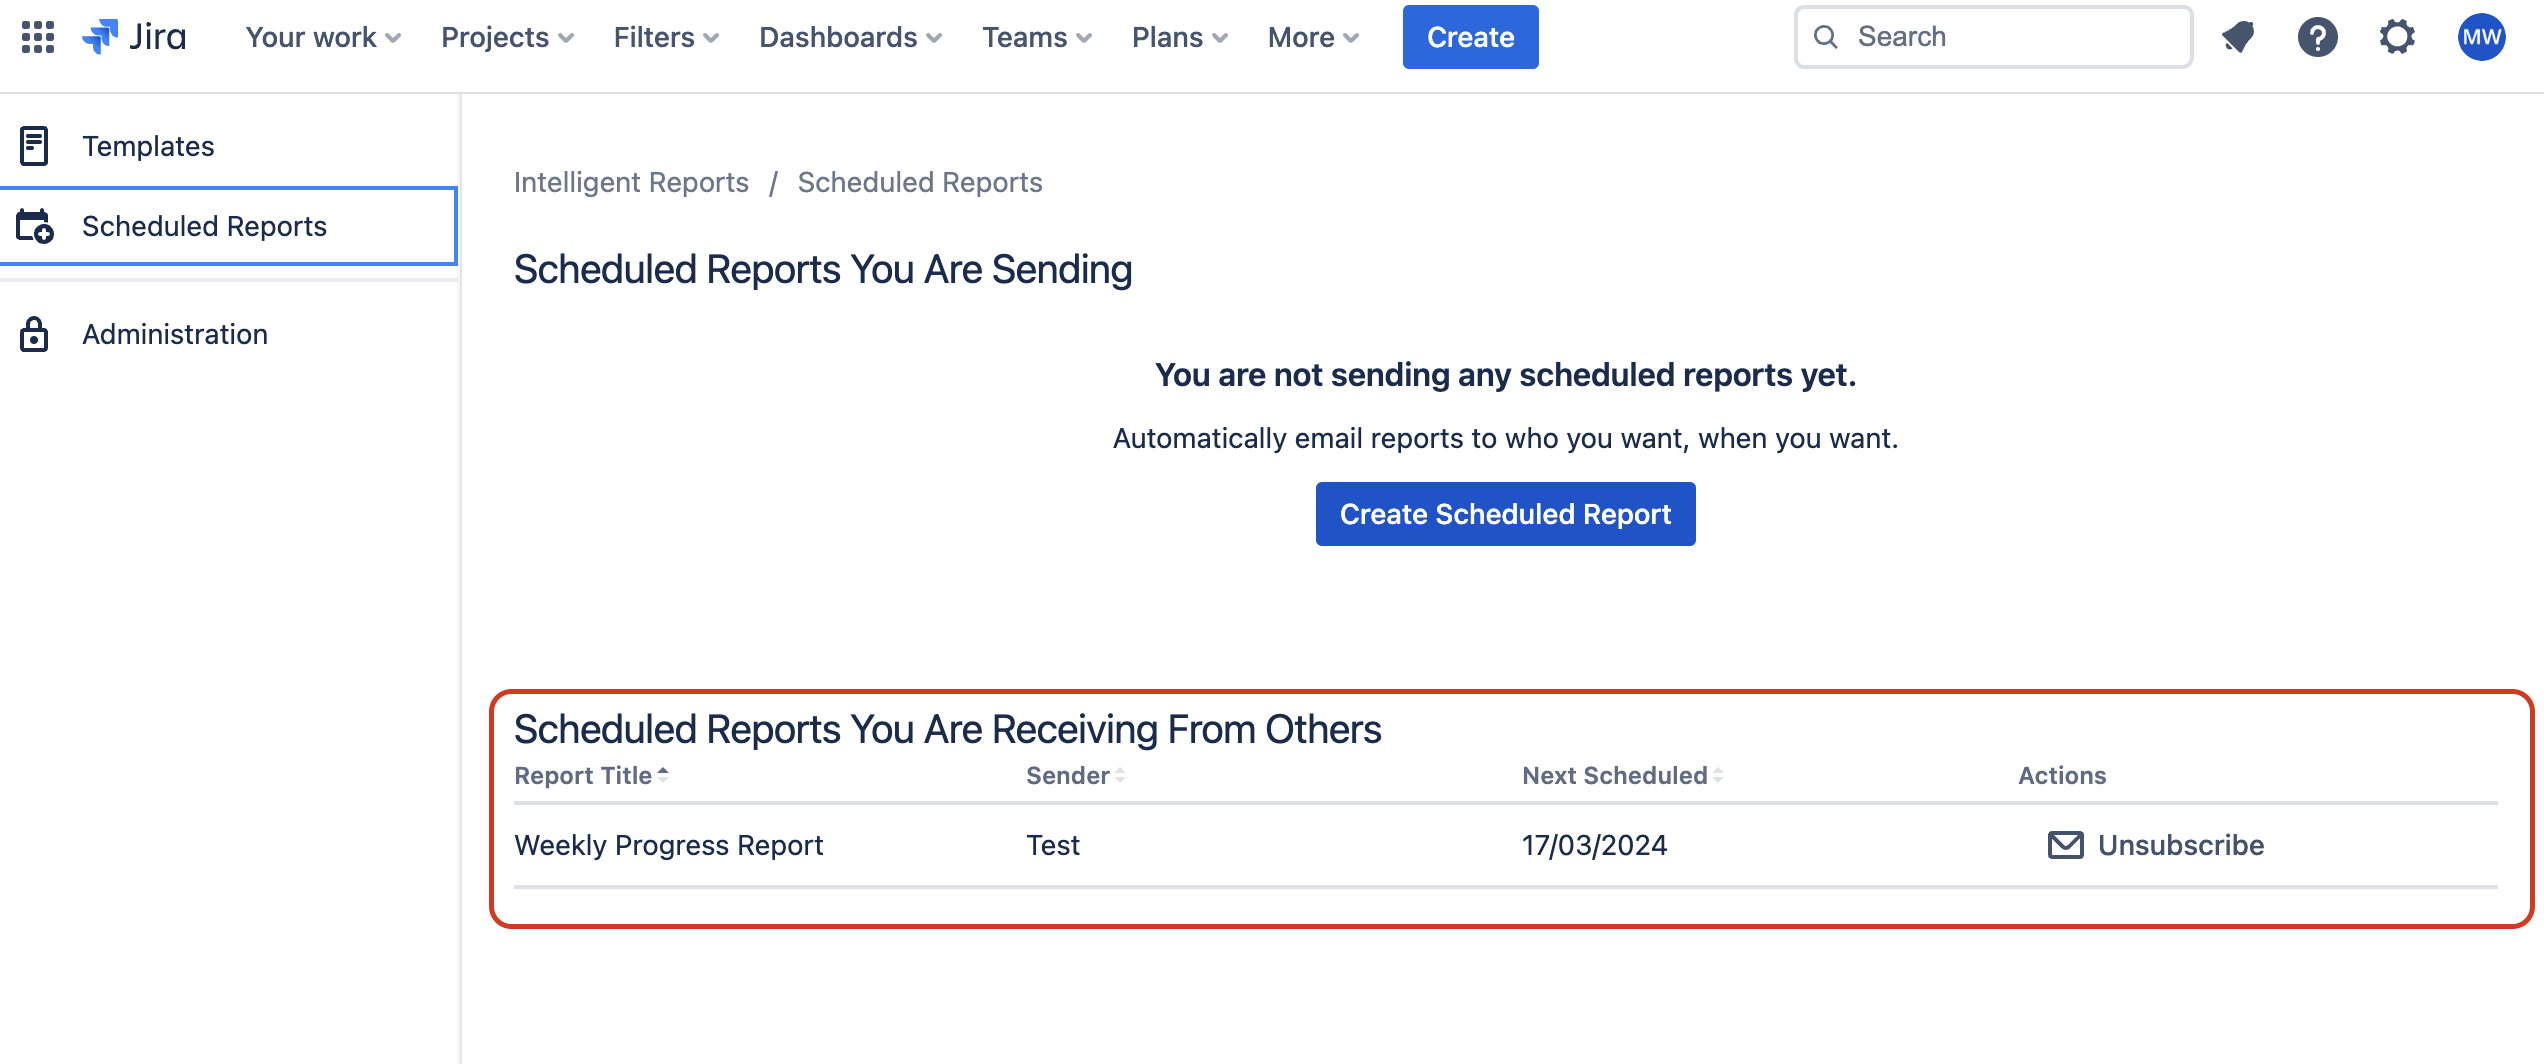
You will see a list of the scheduled reports that you are receiving from other users.

-
Click the Unsubscribe button next to the report you wish to stop receiving.
-
Click Unsusbscribe in the confirmation dialog box.